Roof Shingle Nail Pattern
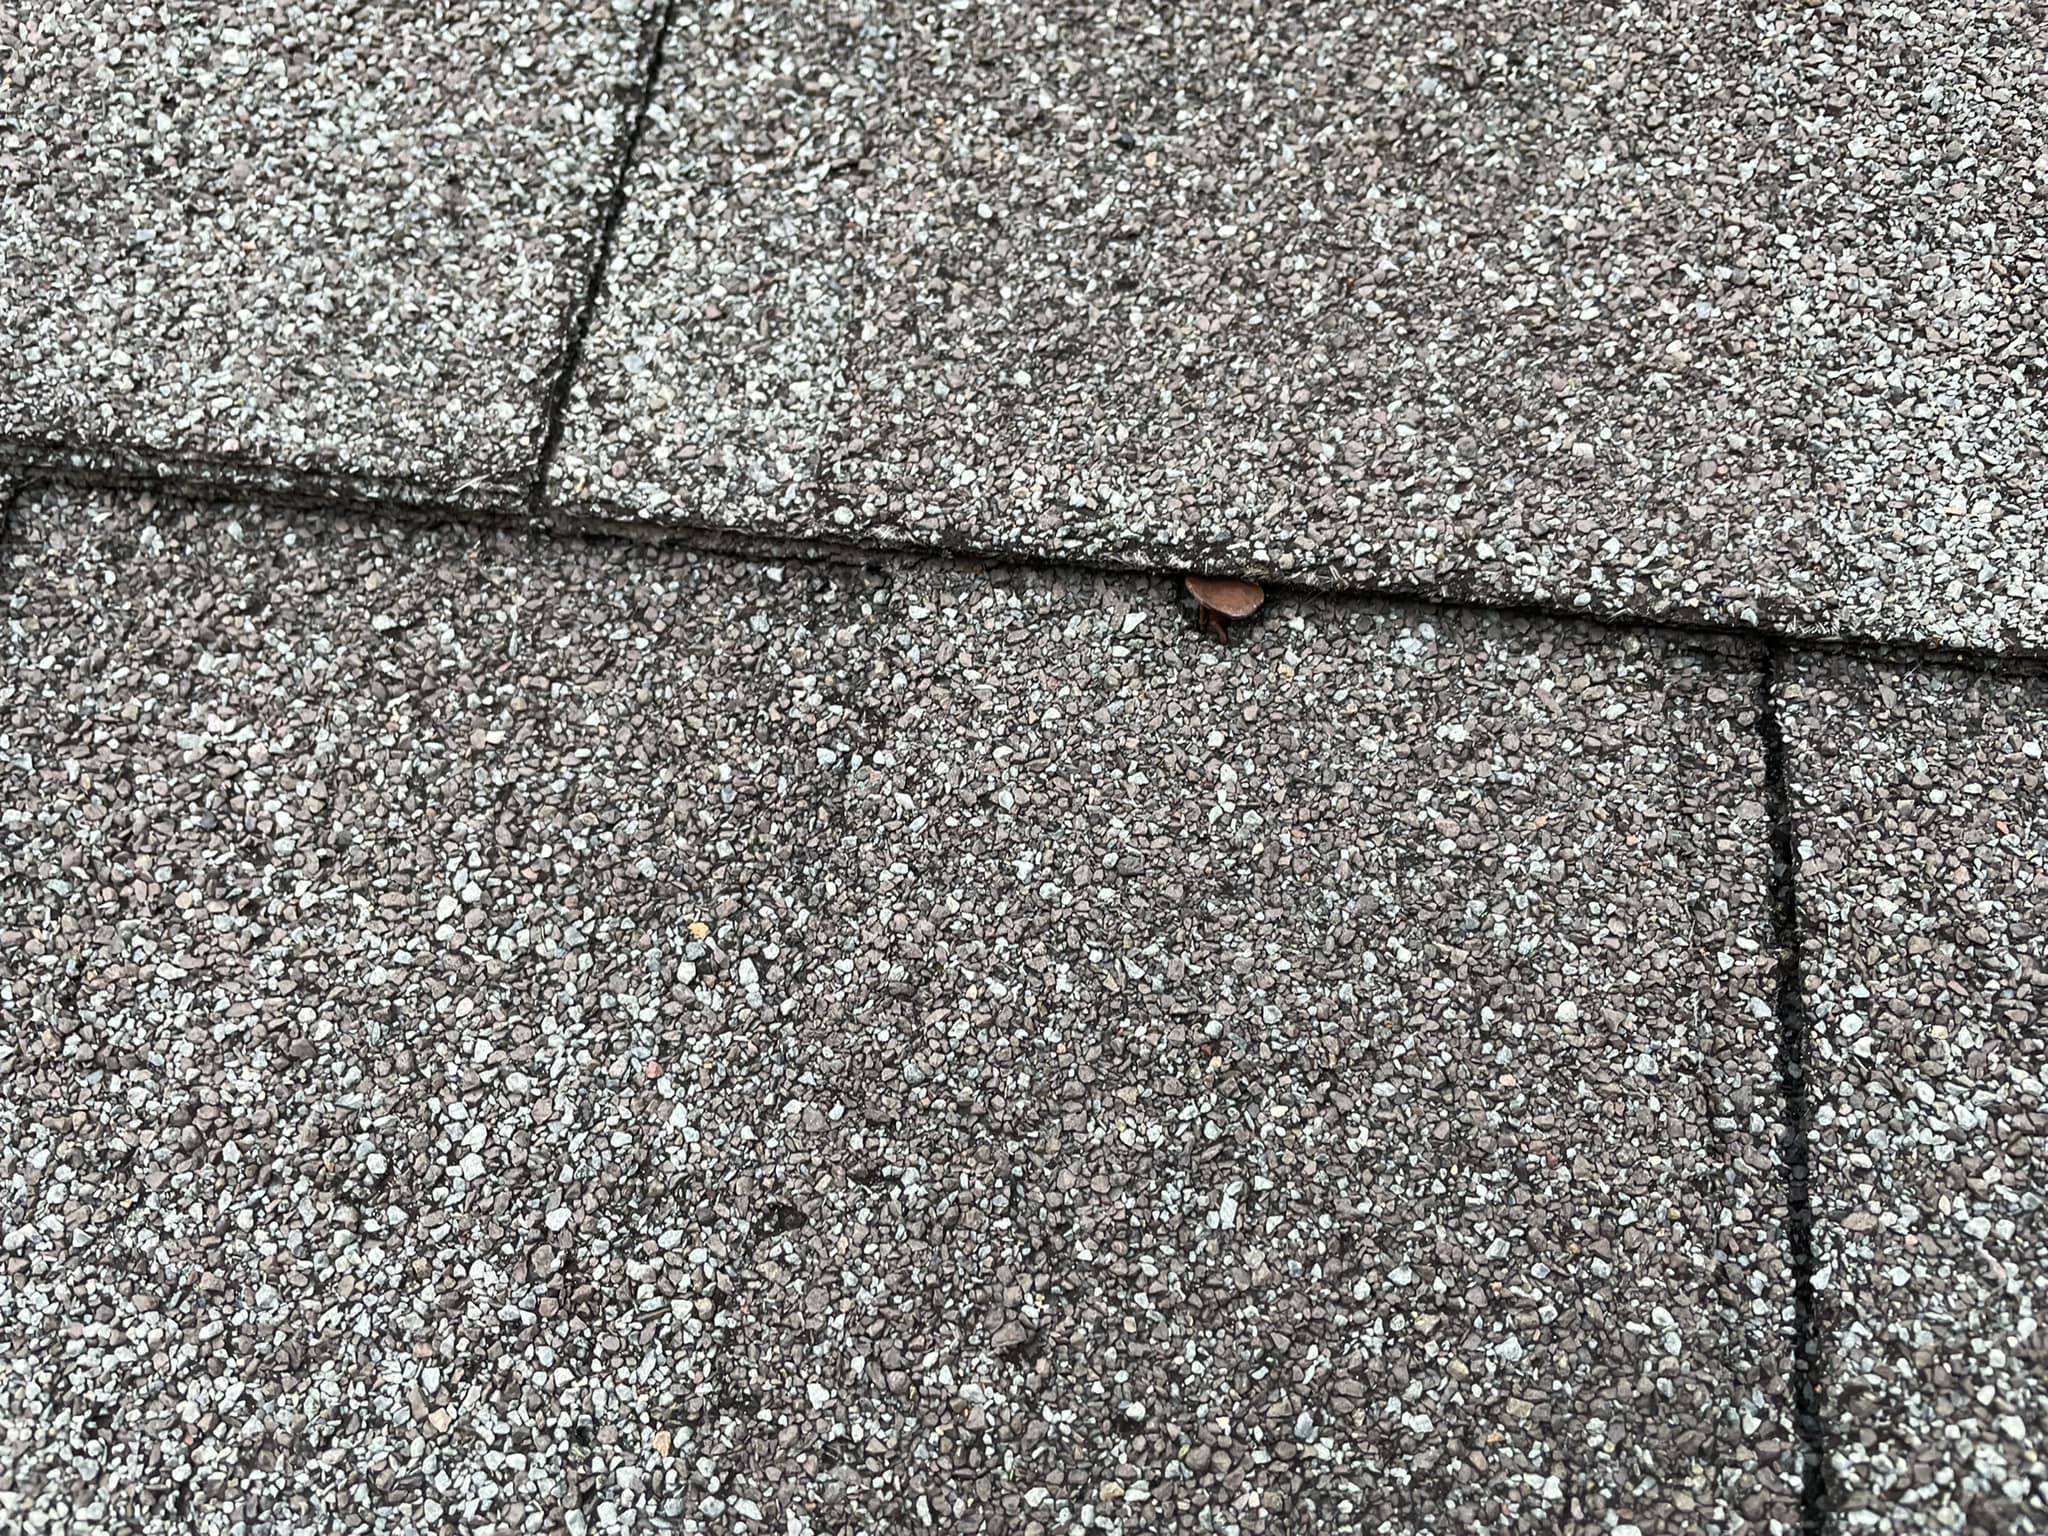
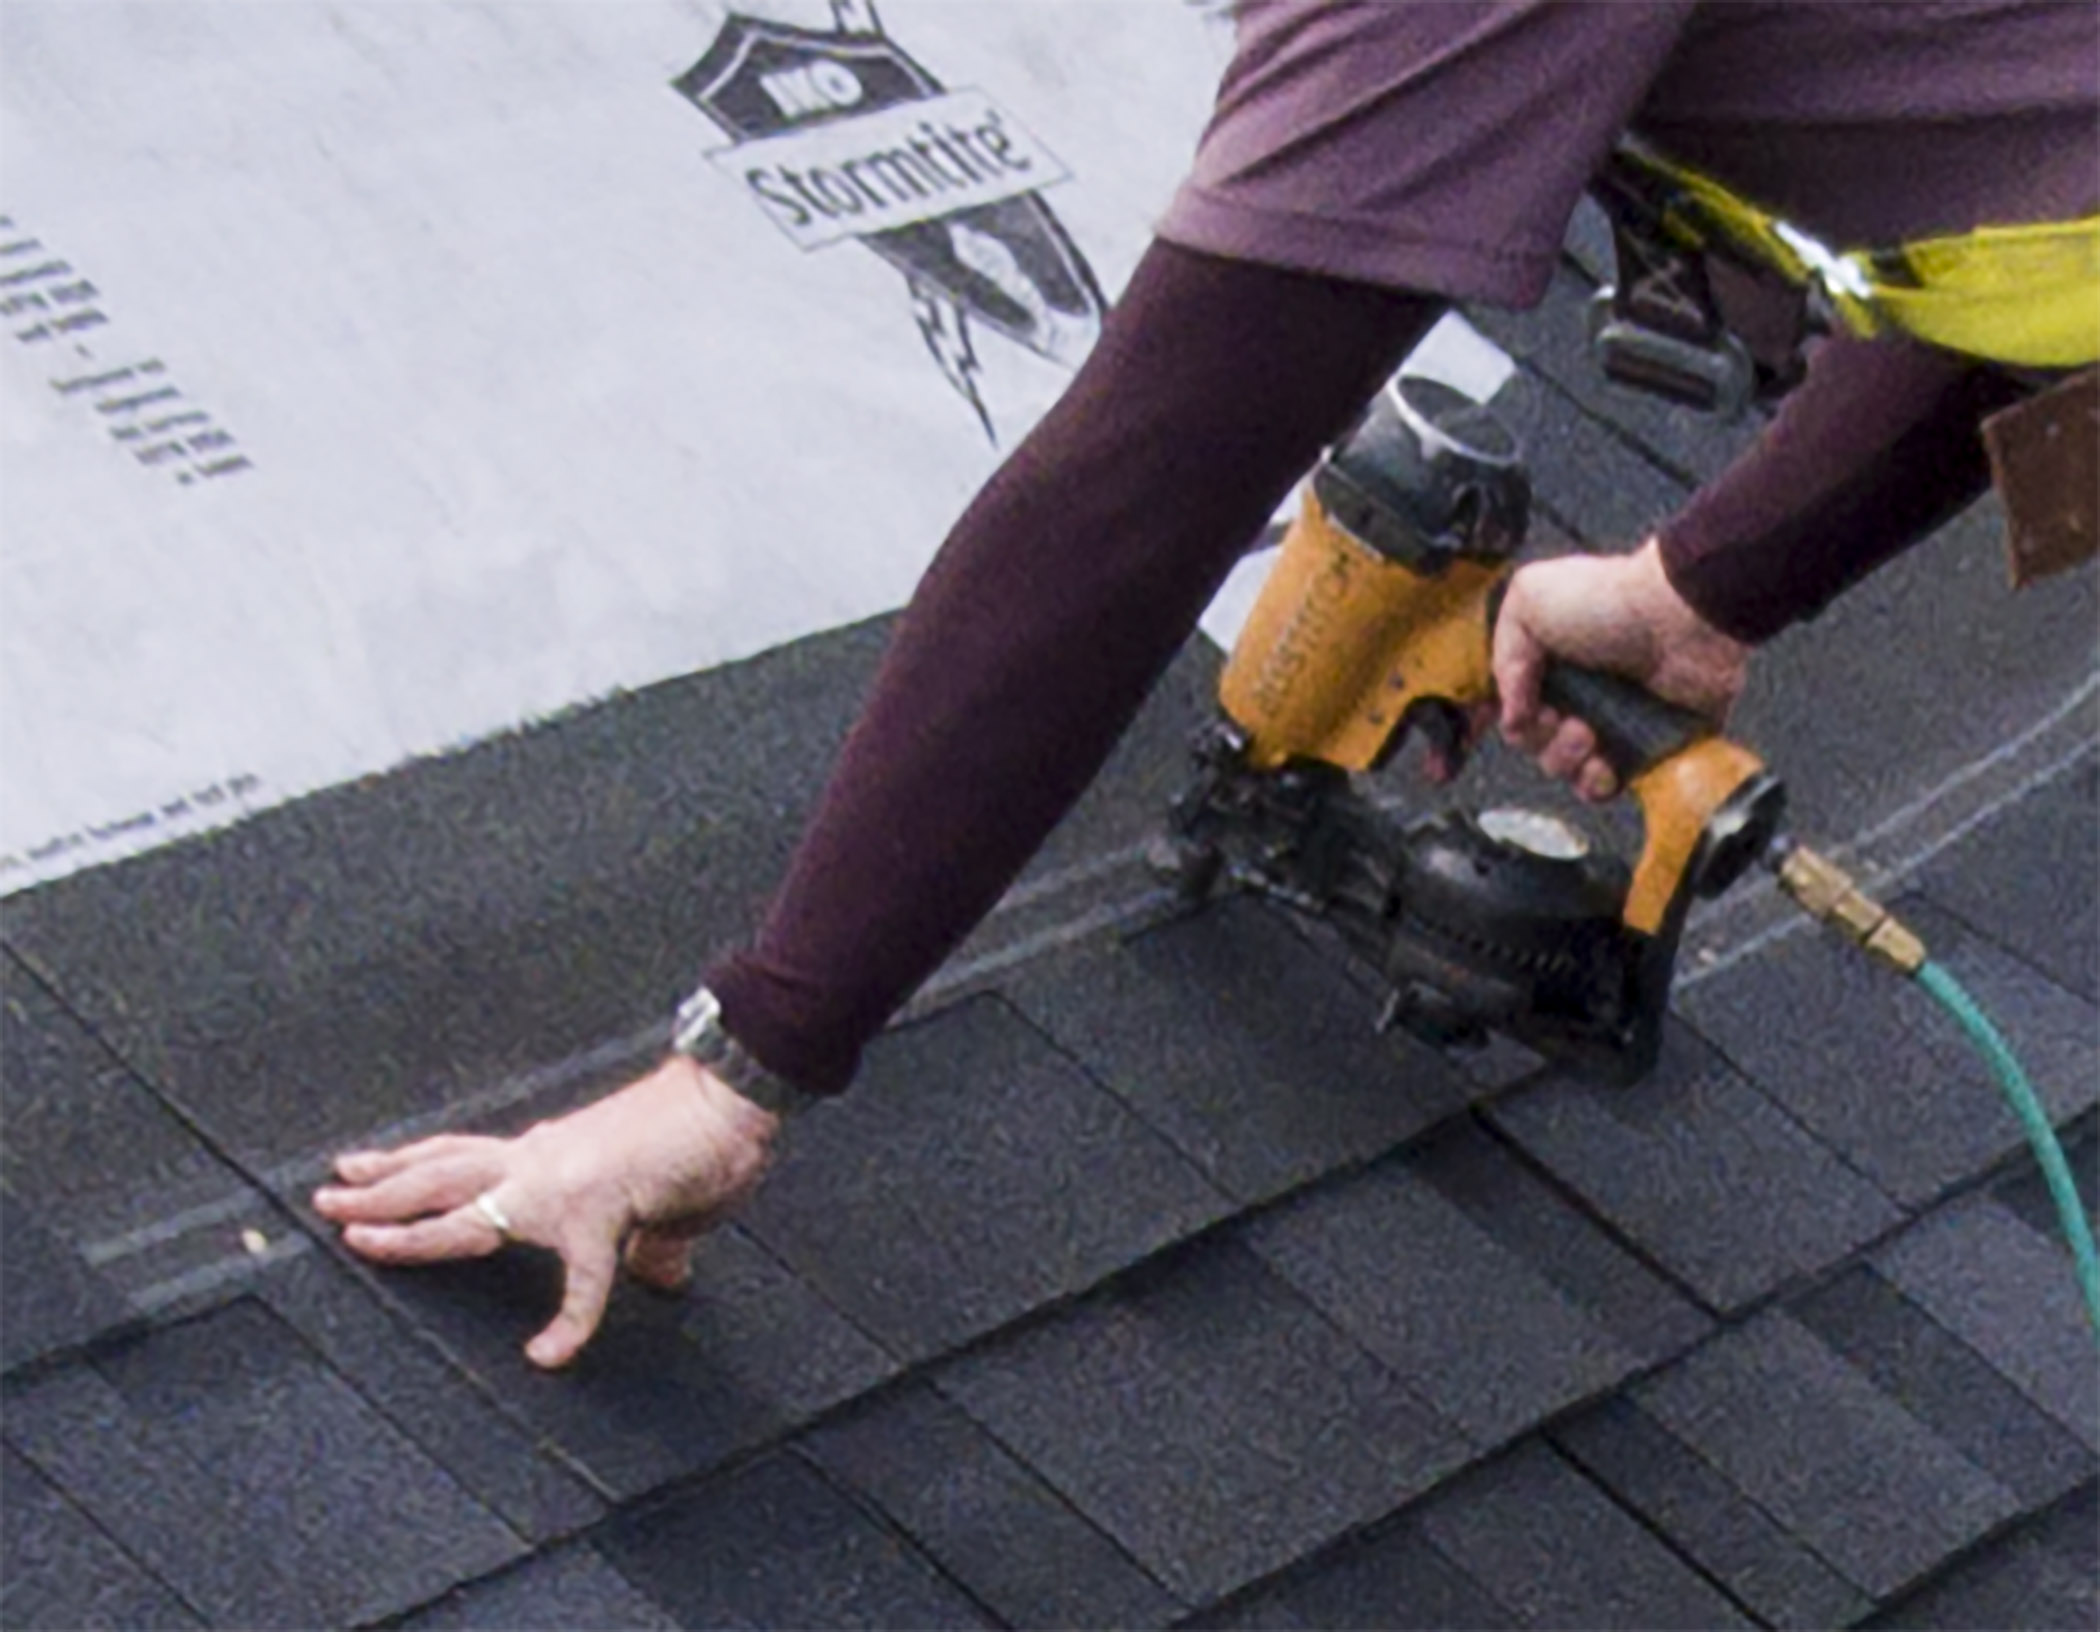
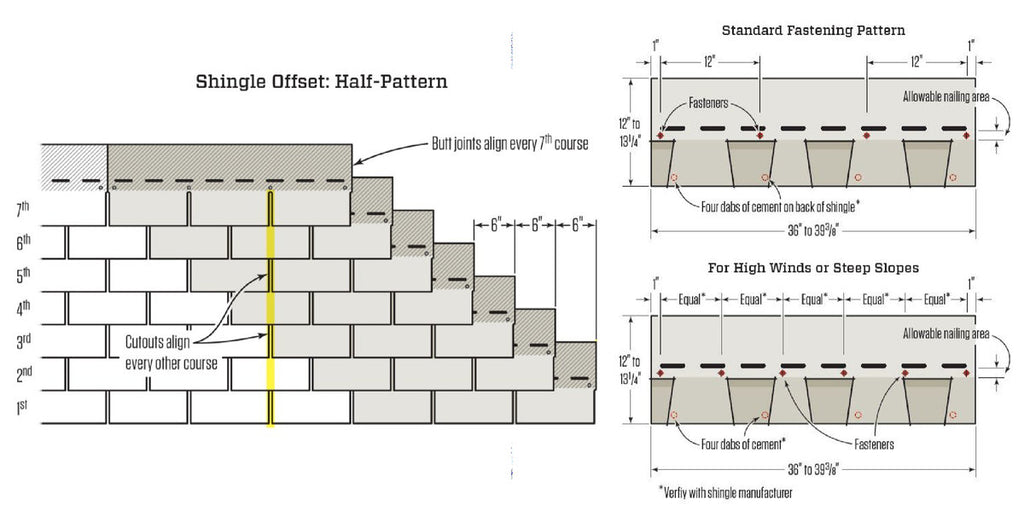
Roof Shingle Nail Pattern - They are specially designed to secure shingles, underlayment, and flashing to the roof deck. Install the recommended number of nails per shingle. Use galvanized (zinc coated) roofing nails, 11 or 12 gauge, with at least 3/8 diameter heads, long enough to penetrate through plywood or 3/4 into boards. Web you have two basic layout choices: A racking pattern or a pyramid pattern. As you continue, follow the pattern of lining a full shingle up against the next and then nailing it into place. Here are some of the most common details that, when improperly executed, can have negative consequences later in the installation or after completion of the roof: If you end up with exposed nails after shingle installation, dab a bit of roofing cement over them to prevent leaks. Following this guide will give you the knowledge and confidence to tackle your roofing project and achieve a professional finish. Understanding the different types of roofing nails available can help homeowners and contractors select the right nail for their projects. Following this guide will give you the knowledge and confidence to tackle your roofing project and achieve a professional finish. As you continue, follow the pattern of lining a full shingle up against the next and then nailing it into place. Here are some of the most common details that, when improperly executed, can have negative consequences later in the installation or after completion of the roof: They are specially designed to secure shingles, underlayment, and flashing to the roof deck. This chapter will demonstrate how to properly nail roofing shingles. There's more than one way to approach layout, and different methods work better than. Web here’s the best way to install roof shingles, where to nail shingles, how much to overhang the drip edge, and fit the felt paper. Web included below is a copy of iko’s nailing instructions found on each package of iko three tab shingles. Understanding the different types of roofing nails available can help homeowners and contractors select the right nail for their projects. Discover the types of roofing nails, like coil roofing nails, & learn which roofing nail size is right for you. This ensures they stay in place and don’t risk being exposed, which can cause corrosion and leaks. Installing architectural shingles requires careful planning, preparation, and. As you continue, follow the pattern of lining a full shingle up against the next and then nailing it into place. Here are some of the most common details that, when improperly executed, can have. They are specially designed to secure shingles, underlayment, and flashing to the roof deck. Ideally, you want to avoid exposed nails in the first place. In most cases, 4 nails are adequate. Understanding the different types of roofing nails available can help homeowners and contractors select the right nail for their projects. Web so, your next course of shingles should. Web learn about selecting the correct type of shingles, nailing techniques, overlapping and aligning rows, and completing the installation with finesse. Place nails at the designated spacing specified by the shingle manufacturer, typically around 6 to 8 inches apart horizontally and 1 to 2 inches from the edges of the shingle. You'll need longer nails for this part, as you're. In most cases, 4 nails are adequate. Web roof shingle fastening patterns affect the roof's wind performance and roof leakage. You can install shingles by hand using a roofing hatchet, but the work will go more slowly. Follow the guideline specified by the manufacturer as each. Use a consistent nailing pattern across the roofing material to ensure uniformity and structural. You'll need longer nails for this part, as you're driving through more layers of shingles. Place nails at the designated spacing specified by the shingle manufacturer, typically around 6 to 8 inches apart horizontally and 1 to 2 inches from the edges of the shingle. Installing architectural shingles requires careful planning, preparation, and. If you end up with exposed nails. Web illustration of two acceptable nail patterns for installing 6 nails per shingle. A racking pattern or a pyramid pattern. Web roofing nails are pivotal in ensuring the durability and integrity of a roofing system. You'll need longer nails for this part, as you're driving through more layers of shingles. Web included below is a copy of iko’s nailing instructions. (11/2” nails minimum, or longer when shingling over a ridge vent product). Understanding the different types of roofing nails available can help homeowners and contractors select the right nail for their projects. In most cases, 4 nails are adequate. Web roof shingle fastening patterns affect the roof's wind performance and roof leakage. Any underdriven nails can be appropriately tapped in. Web nails are essential for roof installation. When roofing nails are positioned improperly or driven incorrectly, the roofing system may become vulnerable to issues, such as punctures, buckling,. We recommend installing 6 nails per shingle for better performance in high w. Here are some of the most common details that, when improperly executed, can have negative consequences later in the. Ideally, you want to avoid exposed nails in the first place. A pneumatic nail gun makes quick work of fastening shingles. Use galvanized (zinc coated) roofing nails, 11 or 12 gauge, with at least 3/8 diameter heads, long enough to penetrate through plywood or 3/4 into boards. It's crucial to carefully organize and plan shingle installation. (11/2” nails minimum, or. Web you can either use special shingles called ridge shingles or cut a number of regular shingles into 3 tabbed, equal pieces and bend each so they fit snugly on the roof peak and nail them into place. Web you have two basic layout choices: (11/2” nails minimum, or longer when shingling over a ridge vent product). Web so, your. Web you can either use special shingles called ridge shingles or cut a number of regular shingles into 3 tabbed, equal pieces and bend each so they fit snugly on the roof peak and nail them into place. Following this guide will give you the knowledge and confidence to tackle your roofing project and achieve a professional finish. This chapter will demonstrate how to properly nail roofing shingles. Web use galvanized 3/8” diameter head roofing nails long enough to penetrate through the deck panel or 3/4” into solid wood decking. We recommend installing 6 nails per shingle for better performance in high w. It's crucial to carefully organize and plan shingle installation. Follow the guideline specified by the manufacturer as each. Web roof shingle fastening patterns affect the roof's wind performance and roof leakage. If you end up with exposed nails after shingle installation, dab a bit of roofing cement over them to prevent leaks. Any underdriven nails can be appropriately tapped in with a hammer. You can install shingles by hand using a roofing hatchet, but the work will go more slowly. A racking pattern or a pyramid pattern. These shingles can be damaged by careless and improper storage or handling. This ensures they stay in place and don’t risk being exposed, which can cause corrosion and leaks. Use a consistent nailing pattern across the roofing material to ensure uniformity and structural integrity. Install the recommended number of nails per shingle.
Roof Shingle LayOut and Nailing Patterns GutterBrush
Shingle Nailing Pattern McToolman

The standard nailing for asphalt shingles is a fournail pattern, with
A Guide to Roofing Nails for Shingles Nail Sizes & Types IKO

Nailing Pattern For Architectural Shingles Nail Ftempo
Roof Shingle LayOut and Nailing Patterns GutterBrush

Roof decking nail patterns and spacing for roofing YouTube

Nailing Pattern For Architectural Shingles Nail Ftempo

Nailing Pattern For Architectural Shingles Nail Ftempo

How to Shingle a Shed With 3 Tab and Architectural Shingles
As You Continue, Follow The Pattern Of Lining A Full Shingle Up Against The Next And Then Nailing It Into Place.
Web Learn About Selecting The Correct Type Of Shingles, Nailing Techniques, Overlapping And Aligning Rows, And Completing The Installation With Finesse.
Place Nails At The Designated Spacing Specified By The Shingle Manufacturer, Typically Around 6 To 8 Inches Apart Horizontally And 1 To 2 Inches From The Edges Of The Shingle.
You'll Need Longer Nails For This Part, As You're Driving Through More Layers Of Shingles.
Related Post: